Projects connect Tina Cloud with a GitHub repository. A project is the link between your site and your site's editors, allowing users that you have authorized to access and modify the site's content.
If it is your first time accessing the Tina Cloud dashboard, you will be given two options for setting up your first project. You can fork our pre-built Next.js starter, which gets you up and running with Tina quickly and easily. Alternatively, you can connect to an existing GitHub repository.
Setup
1. Authorizing GitHub
When setting up a project, the first step will be to authenticate with GitHub. A popup window will ask for permission to give Tina.io access to your GitHub repositories.
This authorization will allow Tina Cloud to push and pull content to and from the GitHub repository associated with your site.
2. Choosing the GitHub repository
Once GitHub has been authorized, a list of repositories will be displayed. The next step is to choose the repository containing your site's content.
If you don't see your repository within the list, you may have to re-configure your Tina.io permissions within GitHub.
3. Configuring the project
In the last step, the following properties must be configured:
Project Name
This name is shown to your users when they log in to the project. Defaults to the repository name.
Site URL(s)
In these fields, enter both the local URL and the production site URL (if known). For security reasons, Tina will only work at these locations.
If you are developing locally, this value might be something like:
http://localhost:3000.
If Tina Cloud is configured on your production site, this value might be something like:
https://<YOUR-SITE-NAME.com>
For the Site URL, Only the URL origin is needed. There is no need to include the path to any specific pages.
Glob Patterns
Tina also supports Glob patterns for the Site URL. This can be useful if you want to allow editing on dynamic preview deployments.
E.g. on Vercel this may look like: https://<VERCEL-PROJECT-NAME>-*-<VERCEL-ACCOUNT-OWNER>.vercel.app
4. Using the project
Once your project is created, you will see it listed on your Projects page.
Administering the project
Overview
A project's Overview page gives you an important value: your project's unique Client ID. This value is used by Tina Cloud to connect to your site's repository. You will need to use this value when setting up your site to use Tina.
Configuration
After your project has been created, you can visit the Configuration page to update the Project Name, Site URL(s), or the GitHub repository
Changing the Repository
From the project configuration screen, click the "Change Repository" button. You will authorize Tina.io again and a list of repositories will be displayed. Selecting the new repository and click Save Project to update the repository.
Advanced Settings
The Advanced Settings button is located in the Configuration tab of your project in Tina Cloud.
Path To Tina
If your `tina` directory is at the project root (as is for most site), this field can be left blank.
If your GitHub repository uses a monorepo structure, the Path To Tina Config input can be used to specify the path to the
tina directory in your repository. For example, if you have a project named my-site, and it is located in the
projects directory of your repository, you would enter projects/my-site in this field and click Save Project to
update the project.
Refresh Webhooks
In rare circumstances, the GitHub Webhook connecting your repository to Tina Cloud may be disrupted. If the webhook does not execute, Tina Cloud may become out of sync with your GitHub repository. Click the "Refresh Webhooks" button to restore them.
Export Branch
Clicking this opens a modal dialog that allows you to push a new branch with the changes from an existing branch at a particular point in time. First select the branch where the changes are located under Source Branch. An export branch name is auto-generated from this selection, but can also be edited as desired as long as it doesn't conflict with an existing branch name. Next, select the point in time from which you want to push the changes, either 'Last Successful Push' or a custom date in the past. Once these selections are made, click the 'Export Branch' button. After a few minutes, the new branch will be available in your GitHub repository with any changes in Tina Cloud. A pull request can then be created to merge the changes to your desired branch.
Branch "Reindex"
Clicking "Reindex" on a branch will completely reset the cached copy of that branch in your GitHub repository and initiate a reindexing process. Any changes only present in the cached copy will be lost. Before reindexing, you should ensure that any changes have been successfully pushed to GitHub using the Export Branch feature.
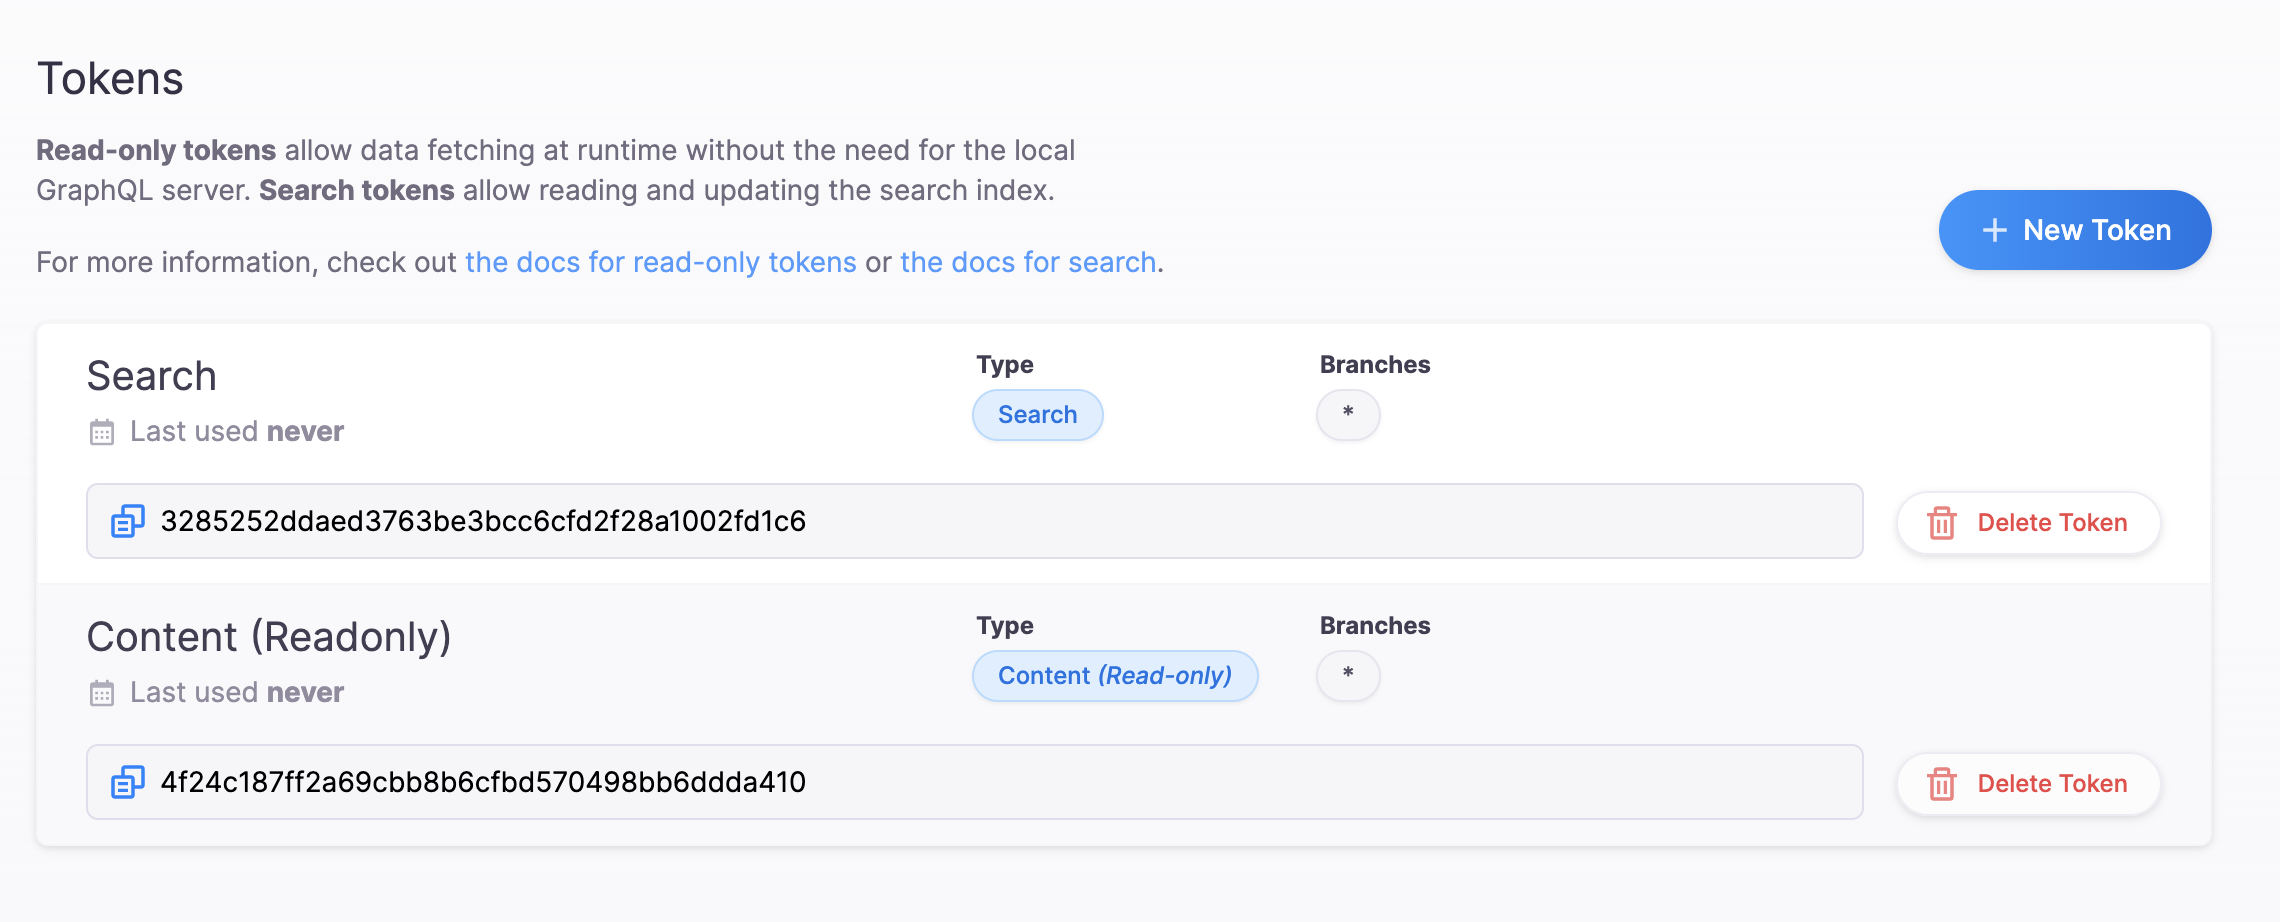
API tokens
There are two types of tokens associated with projects in Tina Cloud: Content (Read-only) and Search.
- Content tokens provide read-only access to your project's content.
- Search tokens provide write access to the Tina Cloud search API.
Warning: API tokens should be considered sensitive and not be committed to your project repository. Content tokens allow clients read-only access to your repository content. Search tokens allow clients to update the Tina Cloud hosted search index for your site. Please use environment variables for these in your Tina configuration.
Generate tokens from the dashboard
By default, a new project will automatically generate both types of tokens with access to all branch types. If the project does not need to restrict access to specific branches, these tokens should be sufficient.
If additional tokens are needed, they can be generated by navigating to Tina Cloud, clicking on the project you wish to add a token to, and clicking on the "Tokens" tab:
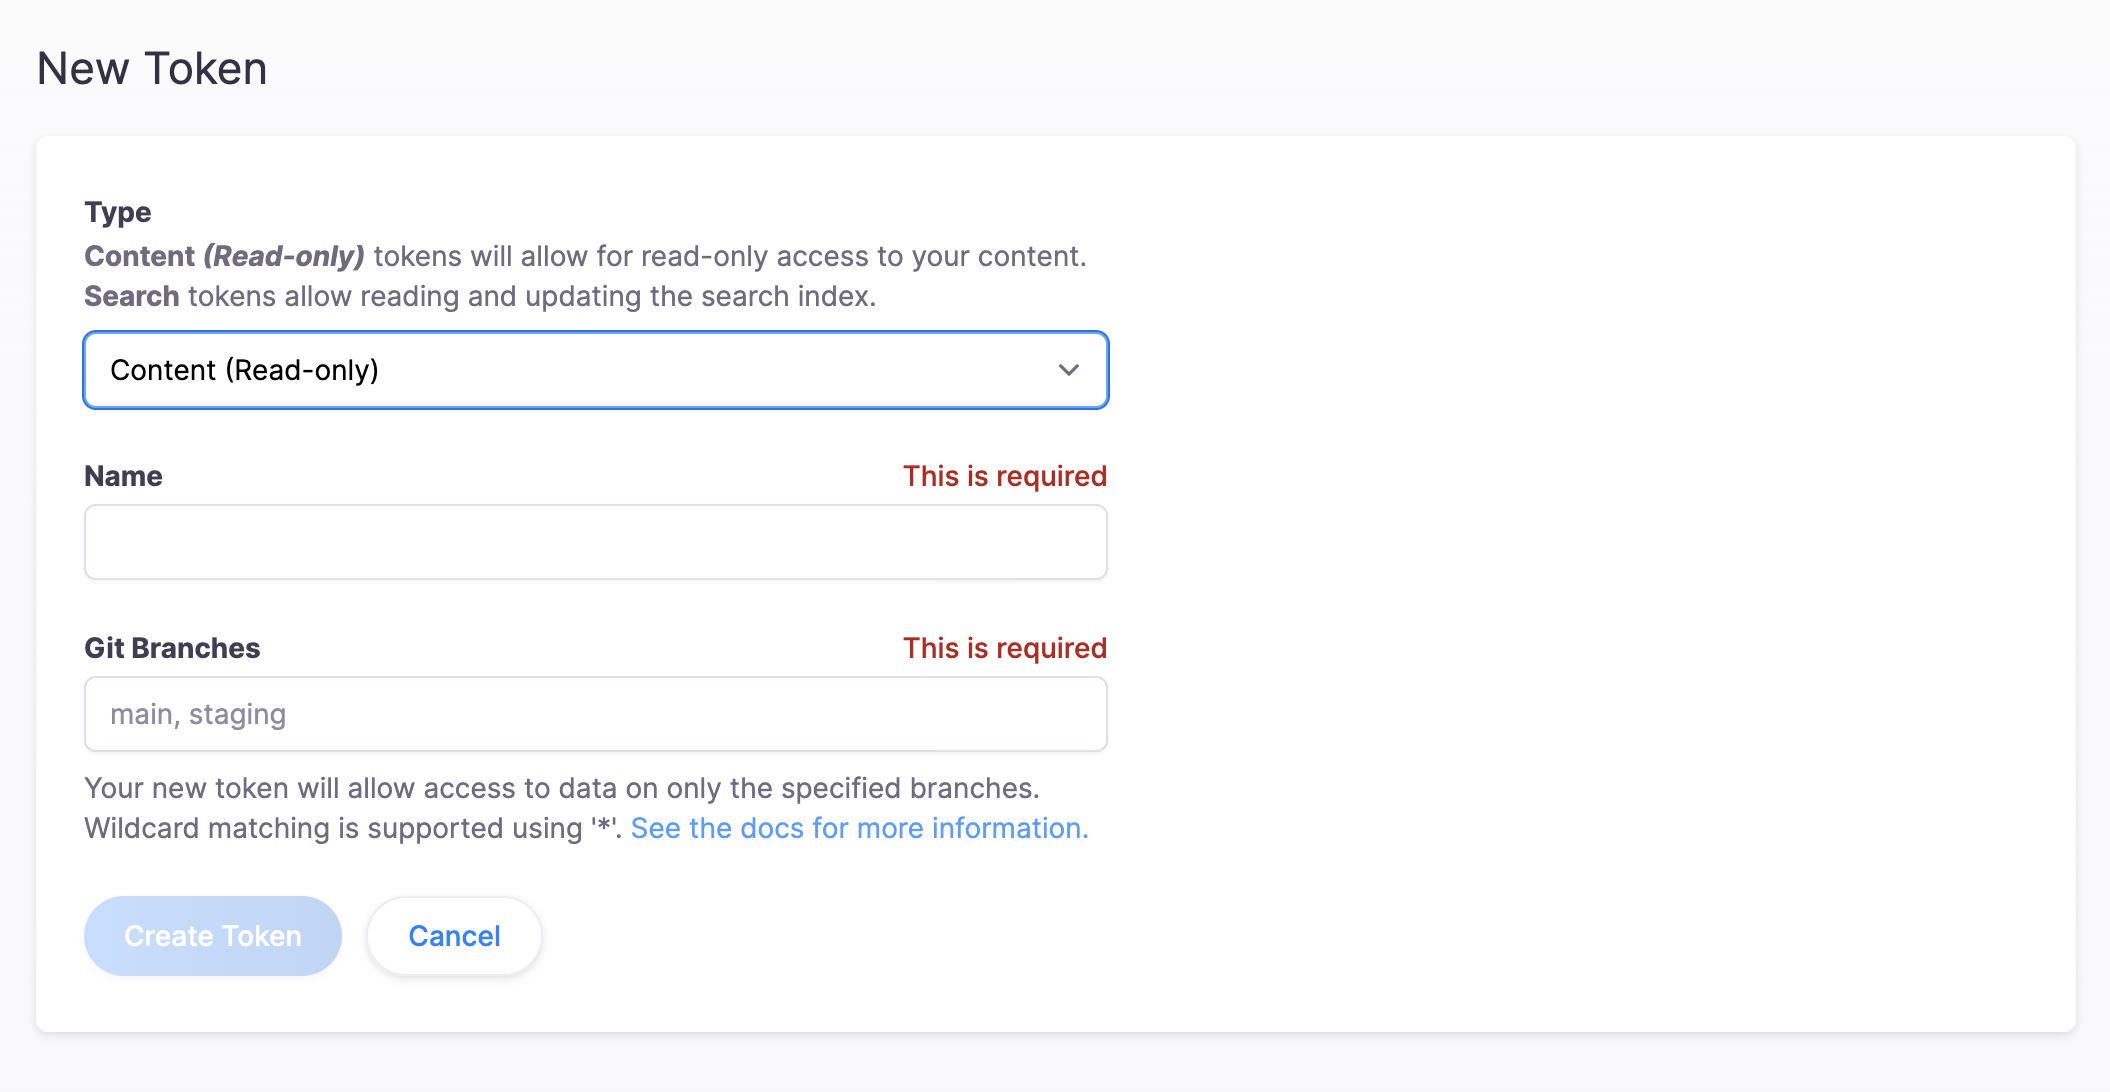
Next, click "New Token" and fill out fields. The "Type" field selects the type of token being created. "Name" is used for identifying the token. "Git Branches" is the list of branches (separated by commas) that the token has access to.
These tokens will be used later when we connect the site's frontend to our project.
Wild cards in branch names
Wild card matching is supported in branch names using '*' to match anything. For example: feat/* will match both feat/foo and feat/bar. If only * is entered it will match any branch.
Wild card matching is useful for matching branches that have not been created yet and can be used for editorial workflows.
Projects
Project Collaborators
Product
Resources
Whats New
Use Cases
Benefits
Comparisons
Integrations
© TinaCMS 2019–2024