Next.js App Router
👆This guide assumes you are using the Next.js app router.
Video Guide
Installing dependencies
From within your site's directory, run:
npx @tinacms/cli@latest init
This will ask you a few setup questions. When prompted for the public assets directory, enter: public.
Updating your build scripts
tina init should have updated your package.json scripts.
"scripts": {"dev": "tinacms dev -c \"next dev\"","build": "tinacms build && next build","start": "tinacms build && next start"}
These should be applied manually if they haven't been set by the CLI.
Starting TinaCMS
You can start TinaCMS with:
pnpm dev
We recommend using pnpm.
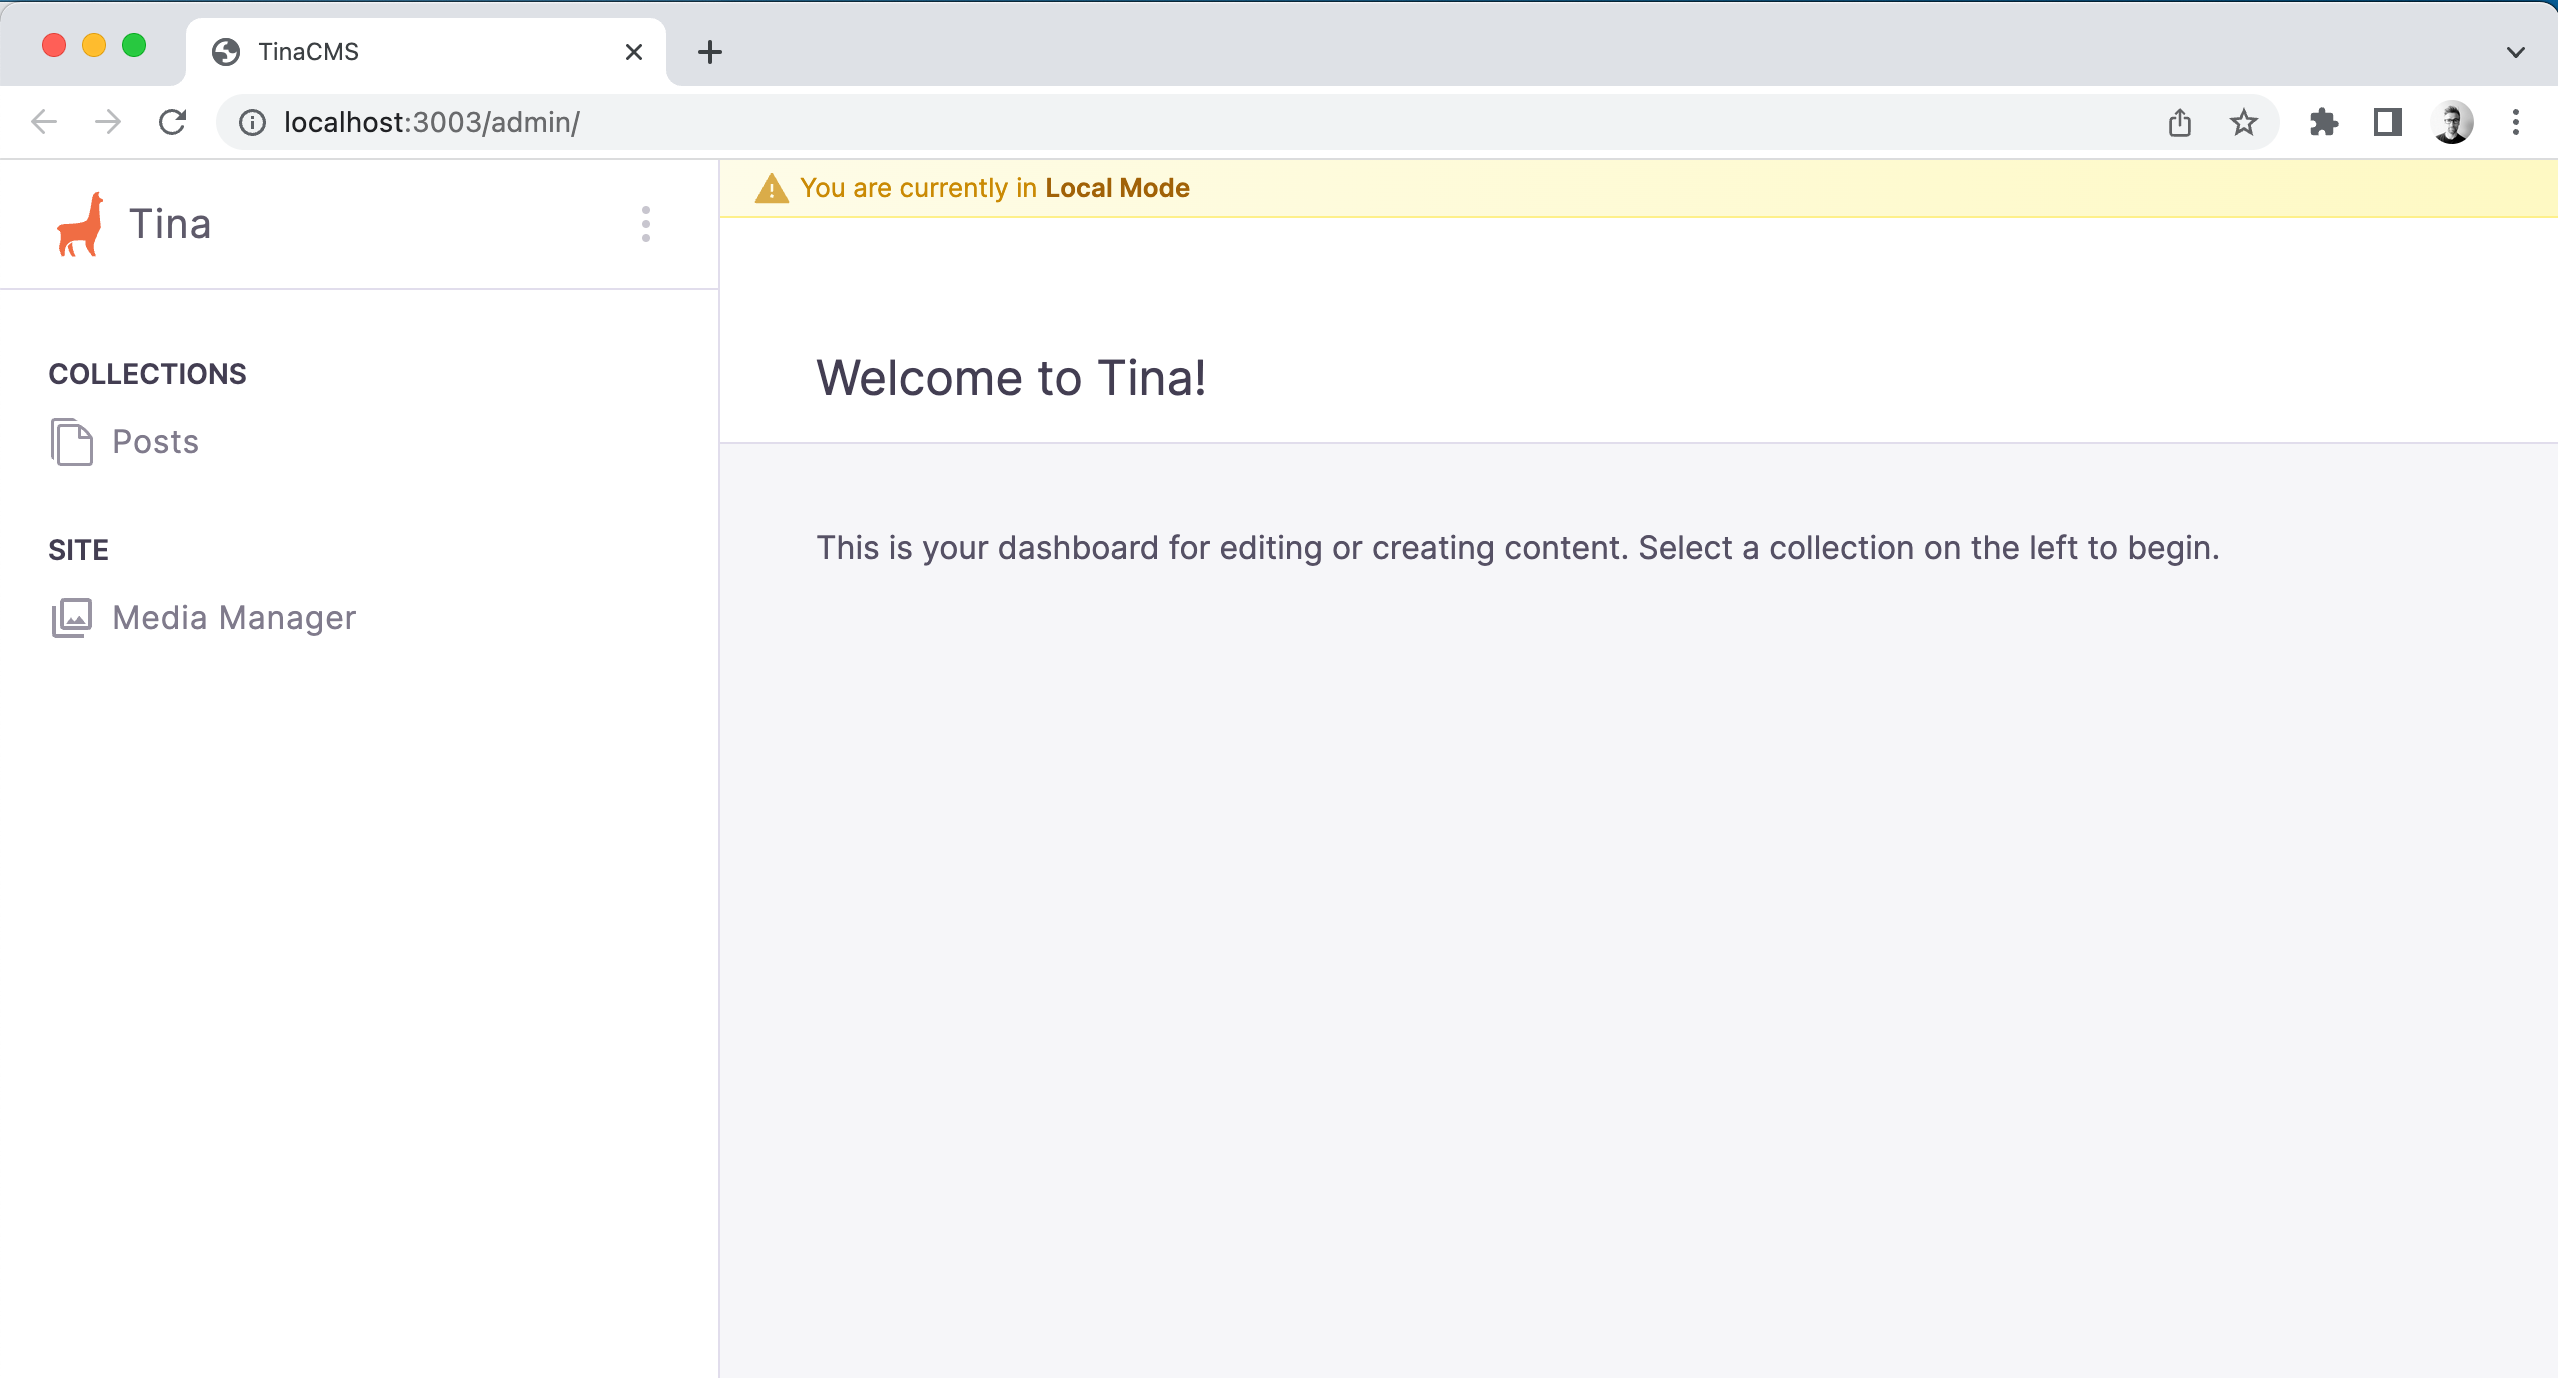
With TinaCMS running, navigate to http://localhost:3000/admin/index.html.
❓ Hint: If you are getting errors when running this command, please see the Common Errors page.
At this point, you should be able to see the Tina admin, select a post, save changes, and see the changes persisted to your local markdown files.
TinaCMS Config file
After running the tina init command a few files were created to get you started as quick as possible. One of these is the tina/config.ts file. This is a required config file that defines all the tina schemas.
It looks like the following:
import { defineConfig } from 'tinacms'// Your hosting provider likely exposes this as an environment variableconst branch =process.env.GITHUB_BRANCH ||process.env.VERCEL_GIT_COMMIT_REF ||process.env.HEAD ||'main'export default defineConfig({branch,// Get this from tina.ioclientId: process.env.NEXT_PUBLIC_TINA_CLIENT_ID,// Get this from tina.iotoken: process.env.TINA_TOKEN,build: {outputFolder: 'admin',publicFolder: 'public',},media: {tina: {mediaRoot: '',publicFolder: 'public',},},schema: {collections: [{name: 'post',label: 'Posts',path: 'content/posts',fields: [{type: 'string',name: 'title',label: 'Title',isTitle: true,required: true,},{type: 'rich-text',name: 'body',label: 'Body',isBody: true,},],},],},})
For a more detailed overview about the config see Content Modeling with TinaCMS
💡 If you've followed this guide using thetina initcommand, you might have noticed that acontentand apagesfolder got created:
Adding file at content/posts/hello-world.md... ✅Adding file at pages/demo/blog/[filename].tsx... ✅
These can be used as a quick reference but are safe to delete.
Creating a New Post
💡 As defined in thetina/config.tsfile we have 1 collection calledpostwhich will be picked up by TinaCMS and mapped to what you see in the TinaCMS Admin page.
1.Head over to /admin/index.html
2.Click on Posts
3.Click on Create
4.Enter required fields
5.Save
Now, let's go back and check what was created. You will see a /content folder with your new post saved as a .md file. This path is defined in the tina/config.ts files post collection!
content└── posts└── hello-world.md
Rendering the Post Collection
Let's start by creating a /posts folder. The page here will list all our posts.
File: app/posts/page.tsx
import PostList from './client-page'import { client } from '../../tina/__generated__/client'export default async function Page() {const { data } = await client.queries.postConnection()return (<><h1>Posts</h1><div>{data.postConnection.edges.map((post) => (<div key={post.node.id}><Link href={`/posts/${post.node._sys.filename}`}>{post.node._sys.filename}</Link></div>))}</div></>)}
As you may have noticed this is a Server Rendered page. Depending on how this page is generated can mean Next will either,
- A. Build this as a Dynamic / Server Rendered page
- B. Build this as a Static page.
This is up to you on how you want this page to be rendered.
Rendering a Single Post
To make this work with TinaCMS Visual Editor we are going to break this across 2 components. 1 will build the page at build time. The other will be a client rendered page that can interact and work with TinaCMS.
File: app/posts/[...filename].tsx
import Post from './client-page'import client from '../../../tina/__generated__/client'export async function generateStaticParams() {const pages = await client.queries.postConnection()const paths = pages.data?.postConnection?.edges?.map((edge) => ({filename: edge?.node?._sys.breadcrumbs,}))return paths || []}export default async function PostPage({params,}: {params: { filename: string[] }}) {const data = await client.queries.post({relativePath: `${params.filename}.md`,})return <Post {...data}></Post>}
Here we are using generateStaticParams to build these pages as SSG. You are free to change this however you like.
Now to make the Visual Editor work, we will create a new "client page":
File: app/posts/[...filename]/client-page.tsx
'use client'import { useTina } from 'tinacms/dist/react'import { PostQuery } from '../../../tina/__generated__/types'interface ClientPageProps {query: stringvariables: {relativePath: string}data: PostQuery}export default function Post(props: ClientPageProps) {// data passes though in production mode and data is updated to the sidebar data in edit-modeconst { data } = useTina({query: props.query,variables: props.variables,data: props.data,})return (<code><prestyle={{backgroundColor: 'lightgray',}}>{JSON.stringify(data.post, null, 2)}</pre></code>)}
Next Steps
NextJS + TinaCMS Overview
Next.js Pages Router
Product
Resources
Whats New
Use Cases
Benefits
Comparisons
Integrations
© TinaCMS 2019–2024