Framework-Agnostic TinaCMS Setup Guide
Introduction
For the most part, TinaCMS is framework-agnostic. Unless you're using "visual editing", the setup is mostly the same regardless of the site's framework.
We also have some guides tailored for some popular frameworks:
Want your framework supported?
Make it known via GitHub discussions:
Note: popularity can be seen from Google Trends
Getting Started
From within your site's directory, run:
npx @tinacms/cli@latest init
This will ask you a few setup questions.
When prompted for the "public assets directory", see our list of frameworks for help.
Updating your build scripts
Depending on your framework, tina init may try to update your package.json scripts.
"scripts": {"dev": "tinacms dev -c \"next dev\"","build": "tinacms build && next build","start": "tinacms build && next start"}
These should be applied manually if they haven't been set by the CLI.
Model your content
To edit your site's content in Tina, you can model your content in the tina/config.ts file.
Learn more about content modelling here
Starting TinaCMS
You can start TinaCMS with:
npx tinacms dev -c "<your-dev-process>"
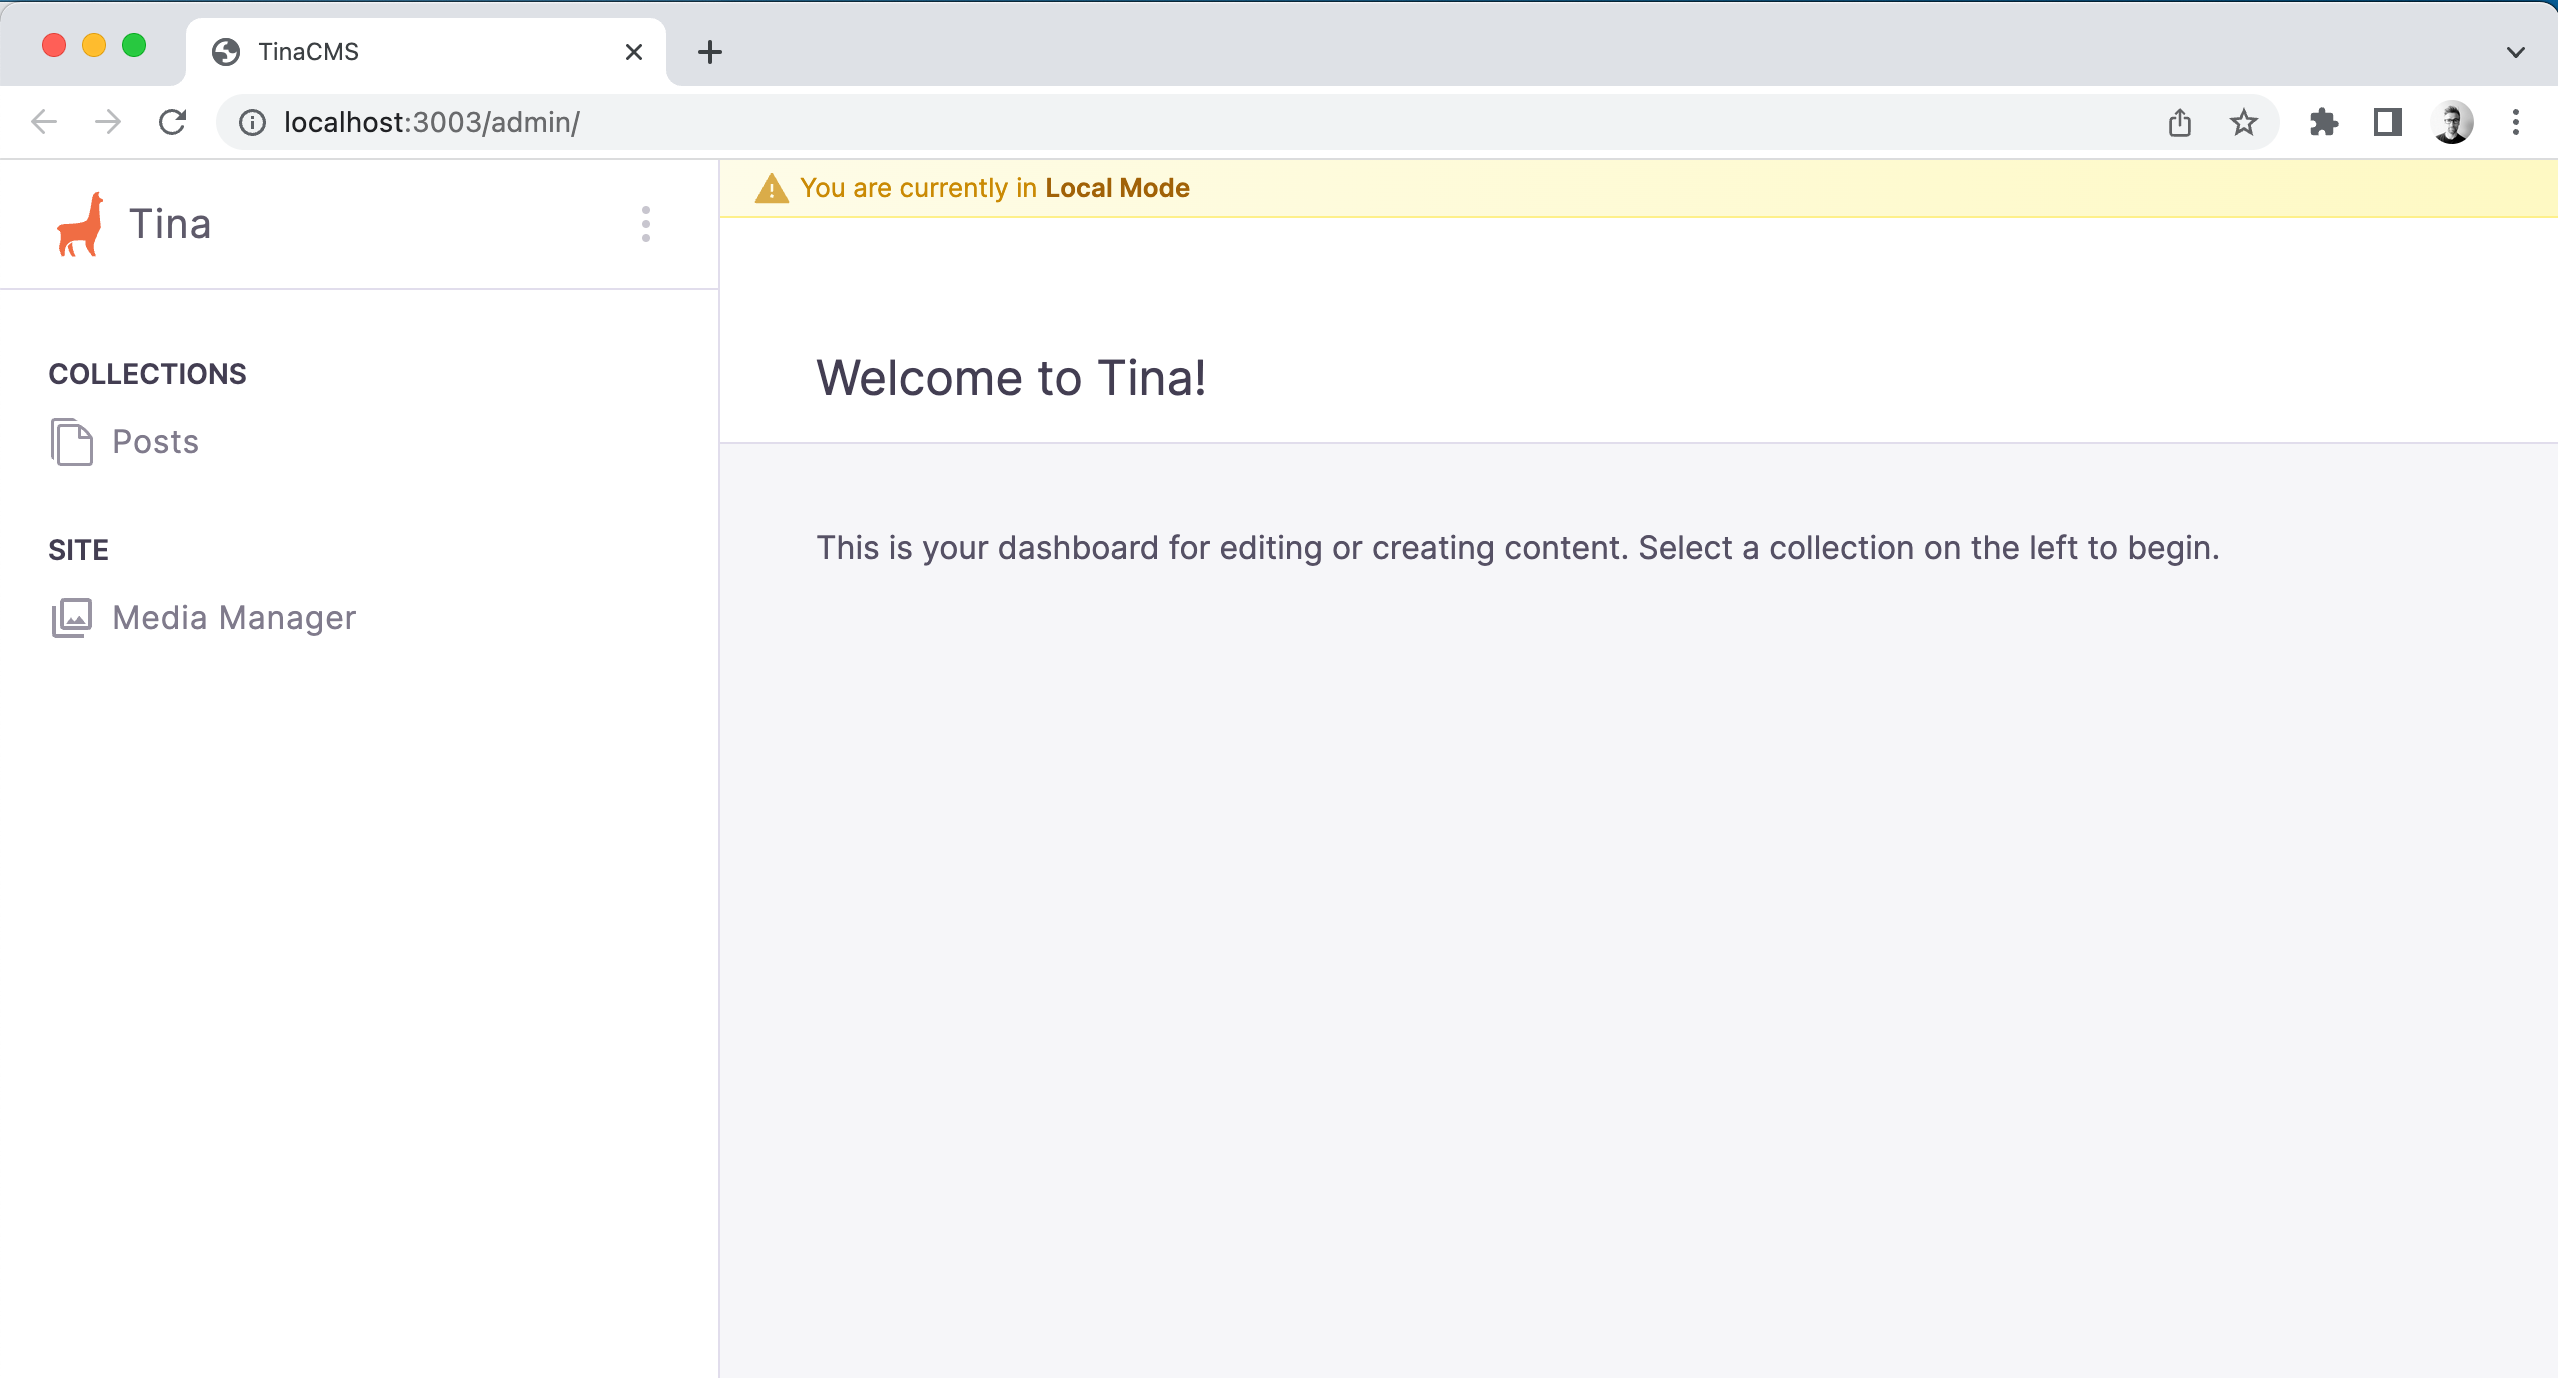
<your-dev-process>can be replaced with your site's custom dev command.With TinaCMS running, navigate to http://localhost:3000/admin/index.html
^ The above default port may differ depending on your framework.
Hint: If you are getting error when running this command please see the Common Errors page.
At this point, you should be able to see the Tina admin, select a post, save changes, and see the changes persisted to your local markdown files.

Setting up Visual Editing (Optional)
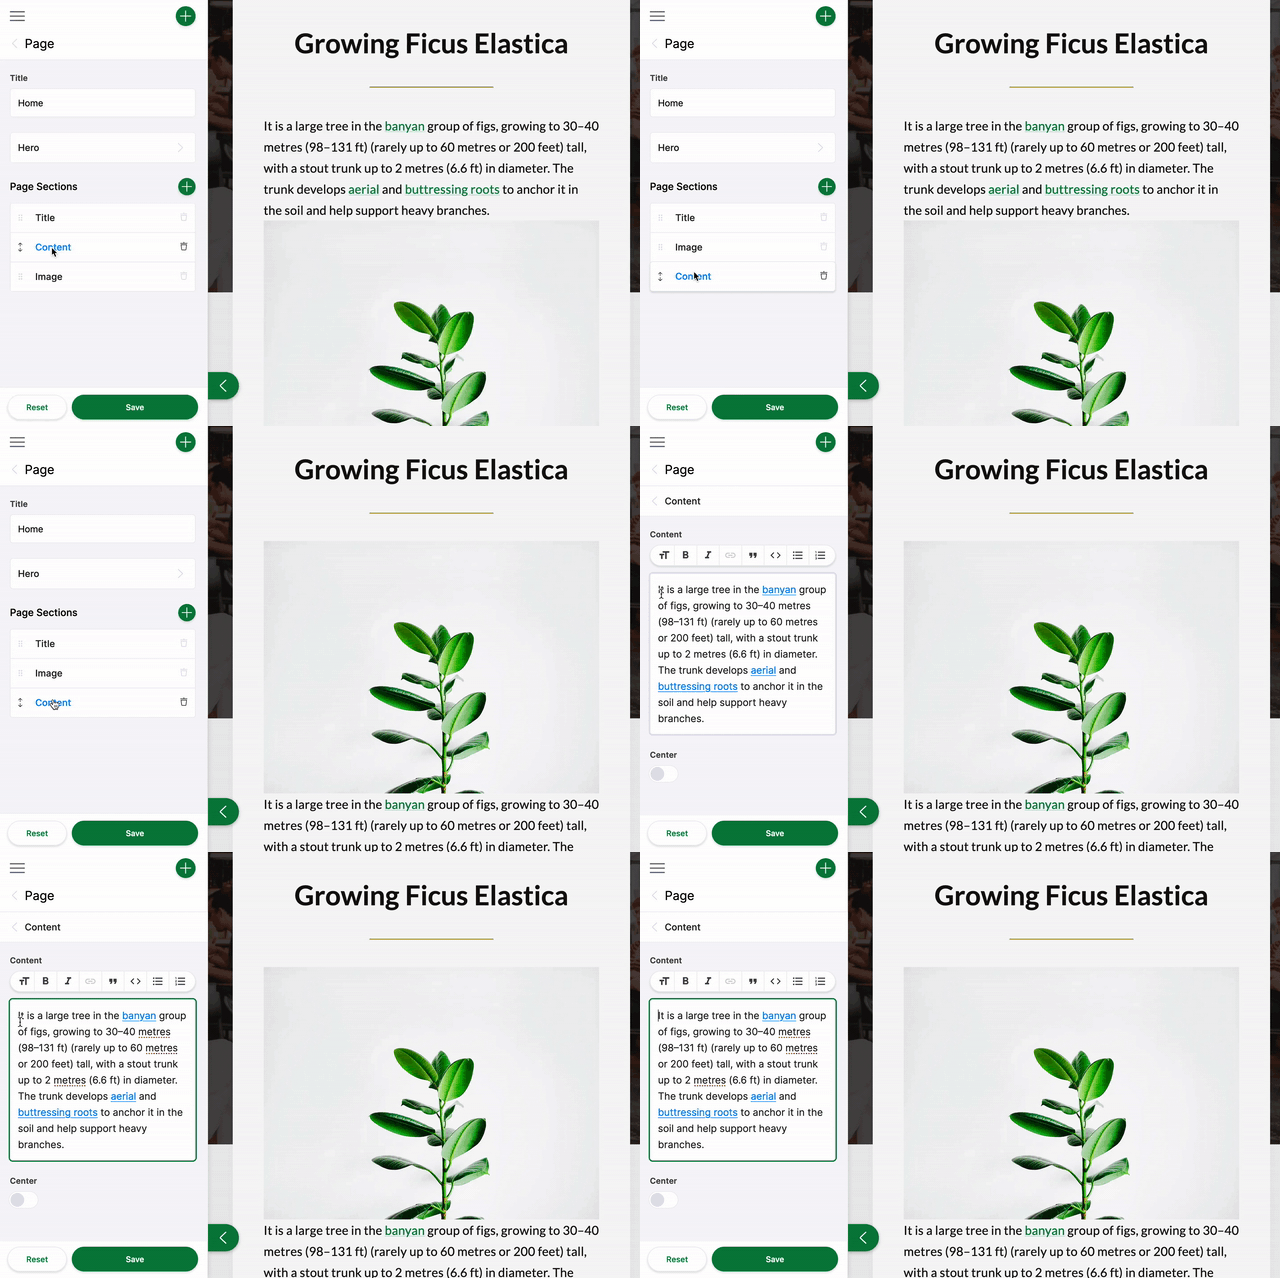
If you want to power your pages with TinaCMS's API, and you're using a React-based framework, you may be able to leverage TinaCMS's visual editing features.

Read more about data fetching and visual editing.
Next Steps
Product
Resources
Whats New
Use Cases
Benefits
Comparisons
Integrations
© TinaCMS 2019–2024